2. Installation process
To set up connection between DotNetNuke Platform (and/or Evoq) and “Microsoft Azure Active Directory” you need to install “AD-Pro Azure AD Connector” plugin on the DNN side. In this chapter will be described that installation process.
On the “Microsoft Azure Active Directory” you don’t need to install anything.
2.1. Requirements
To connect DNN with Azure Active Directory you need:
- Azure AD subscription, you can sign up for a free 30-day Azure AD trial using this link,
- DotNetNuke Platform (or Evoq) v8.0.1 or above,
- DotNetNuke secured with HTTPS,
- .NET Framework v4.5.1 or above,
2.2. Before you start
- Make all backups, including DNN database and file system.
2.3. Provider installation process
Sign in to the DNN website as a “DNN Host”.
Go to “Settings-> Extensions”, see figure below.
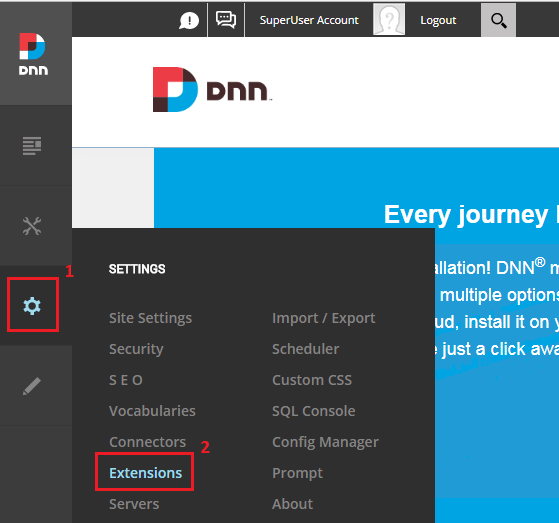
Click “Install Extension” button, see figure below.
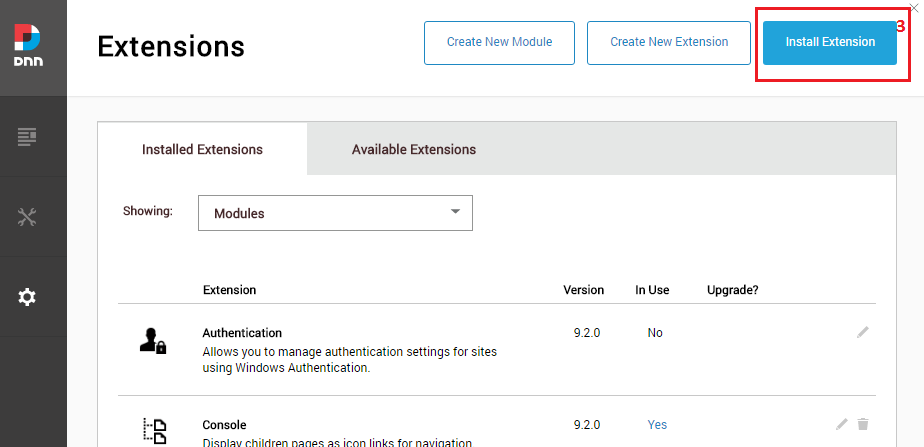
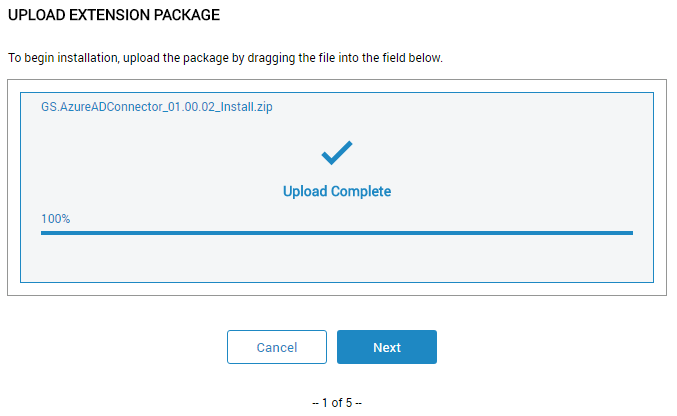
Upload extension package (see figure below) and click “Next” button few times. This will take you through all steps of module installation wizard.
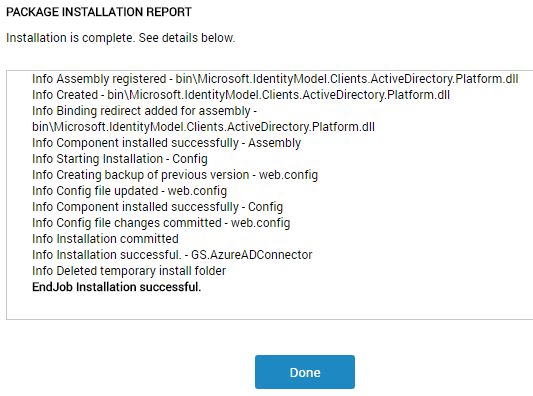
If package was successfully installed, following screen should appear. Click “Done” button to finish this process.
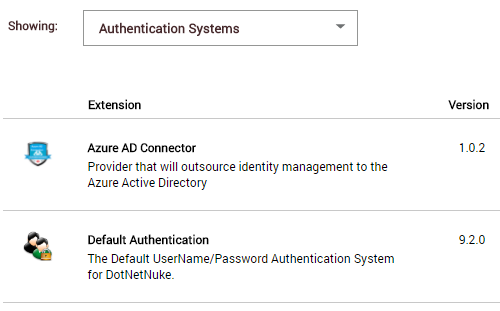
Now extension list contain newly added module, the module version can be vary, see figure below.
2.4. Changes made during the module installation process
Inside
web.configfile, in section<appSettings>following entry is added:<add key="owin:AutomaticAppStartup" value="false" />
Inside
web.configfile, in section<runtime><assemblyBinding>following entries will be added. Each entry is connected with one library.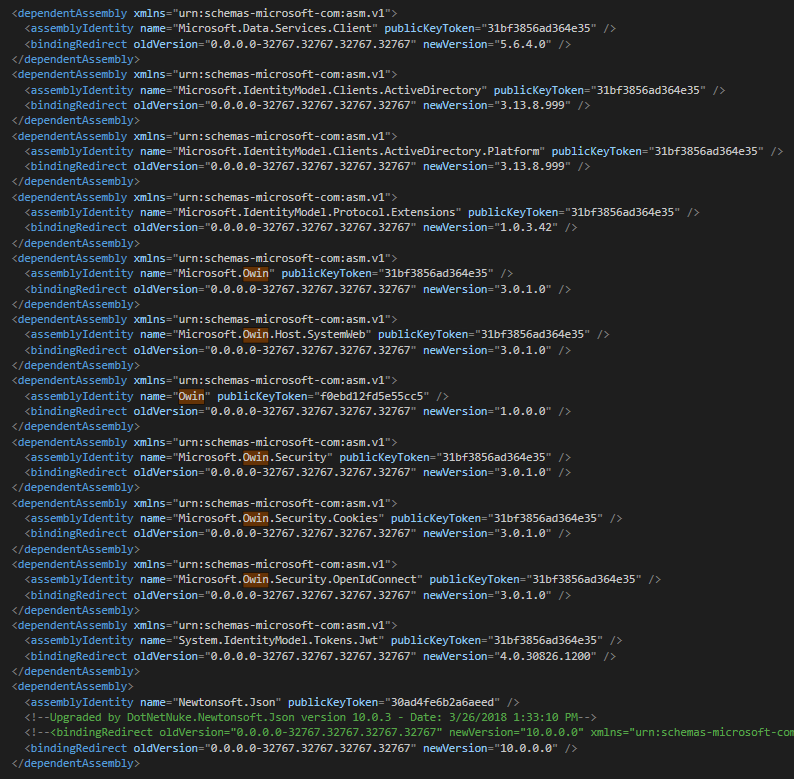
In DNN
bindirectory following libraries are copied: