2. Adding module to a page
Note
Objective of this chapter is to show how to put ‘Connection Manager’ module to the DNN page.
2.1. Create new page for module
- Sign in to the DNN website as a ‘DNN Host’ or ‘DNN Administrator’.
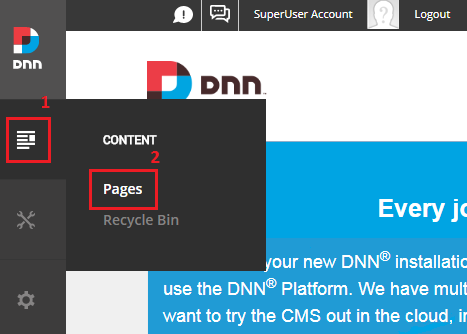
- Create new DNN page, go to ‘Content->Pages’, see figure below.
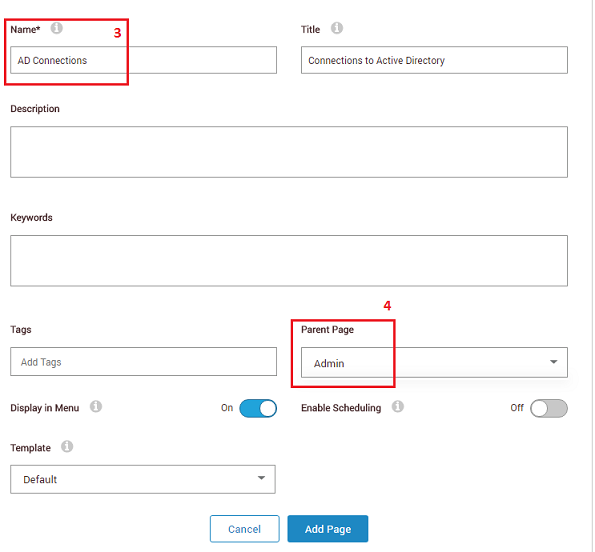
3. Set the name for newly created page (eg: ‘AD Connections’), see figure below. It’s good to set an ‘Admin’ as a parent page. Page shouldn’t be visible for regular DNN users, it’s because it will contain sensitive Active Directory data.
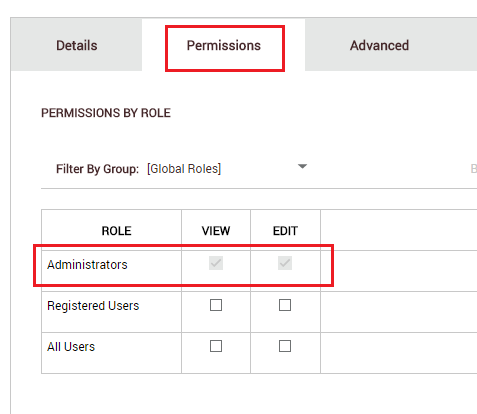
4. Make sure that permissions for newly created page are: ‘View’ for ‘Administrators’, see figure below. Once again, regular users shoudn’t have access to that page.
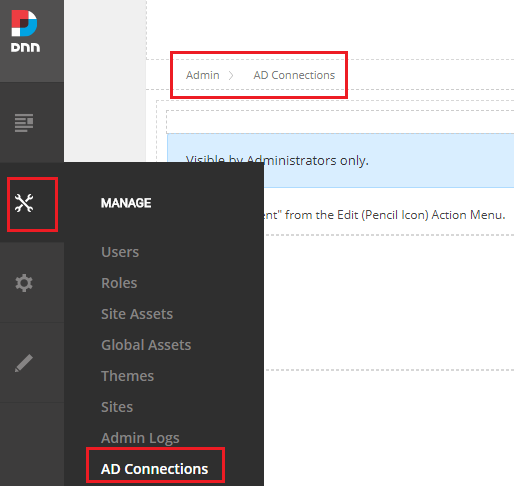
- Click ‘Add Page’ to finish wizard, this will automatically redirect you to newly created page, see image below.
2.2. Put module on a page
- Go to page where ‘Connection Manager’ will be placed.
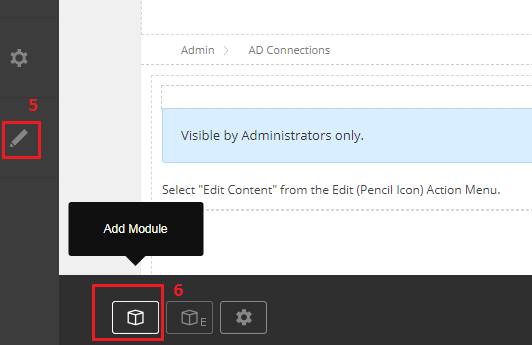
- Set DNN into ‘Edit’ mode, and click on icon ‘Add Module’, see figure below.
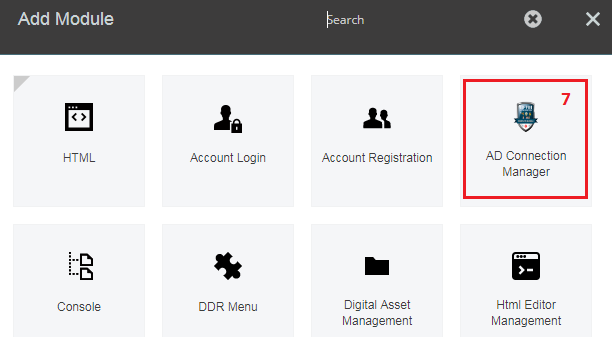
- Add ‘Connection Manager’ module, see figure below.
- At the end you should have page with ‘Connection Manager’ module. For now it didn’t have any Active Directory data inside it, see figure below.
